4 MAIN STEPS TO CONFIGURE SSL FOR SENDQUICK
The beauty of sendQuick on-premise solution is that it can be situated in your organisation’s local network, protected by the firewall. Therefore, it is rather secure to access the User Interface of sendQuick from a browser within your local network.
That said, some organisations may require all browser access to have Secure Sockets Layer (SSL) in place. The good news is that you can enable SSL for sendQuick and it supports up to the latest SSL standard (TLS 1.3)
Step 1 : Ensure HTTP port 80 is enabled.
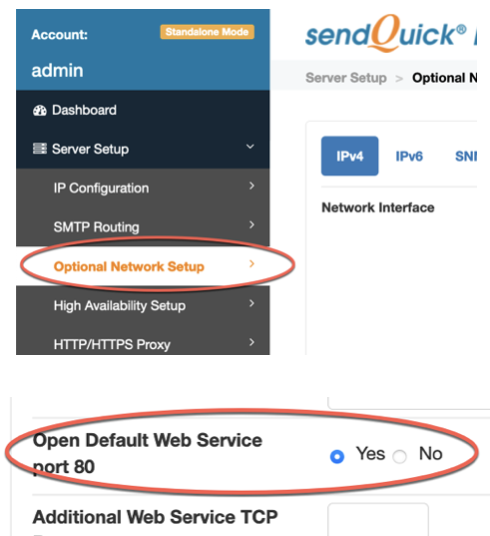
Prior to making any changes to the SSL setting, it is advisable that you check that the Default Web Service port 80 is enabled to ensure you can still have http access to the dashboard in case the SSL setup fail. Navigate to Server Setup > Optional Network Setup.
Confirm that the “Open Default Web Service Port 80” is marked as “Yes” to enable the port for http.
Once SSL is configured and tested successfully, you can choose to close this port to limit access to the sendQuick server to https access only.
NOTE : Disable this port with care as you may accidently lock yourself out of the system if you only allow https access and the SSL happens to fail.
Step 2 : Generate SSL Key and self-signed certificate.
By default, sendQuick comes with a self-signed certificate. For most, that will be good enough as it facilitates encryption and sendQuick web interface is normally not a public-facing website.
However, if the requirement is for the certificate to be authenticated by a Certificate Authority (CA), then you may need to do the additional Step 3.
Eventually you will need the following to configure SSL for sendQuick in Step 4 :
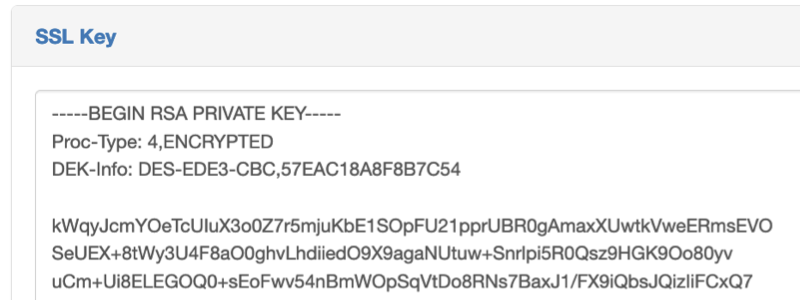
i) SSL Key
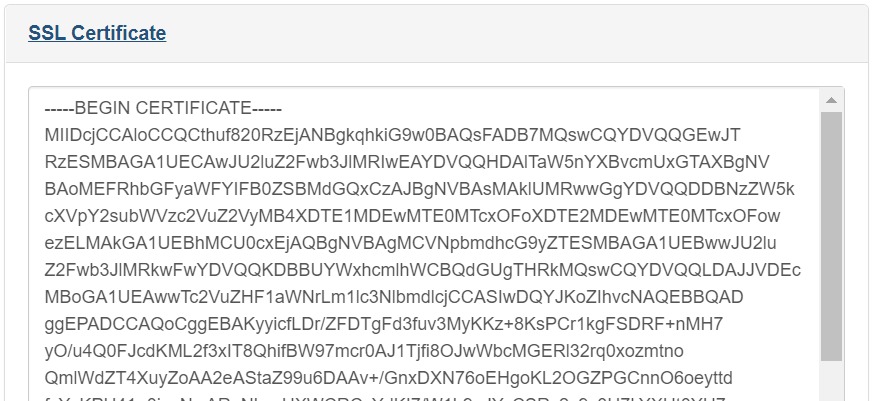
ii) SSL Certificate
iii) CA Certificate (if CA is required)
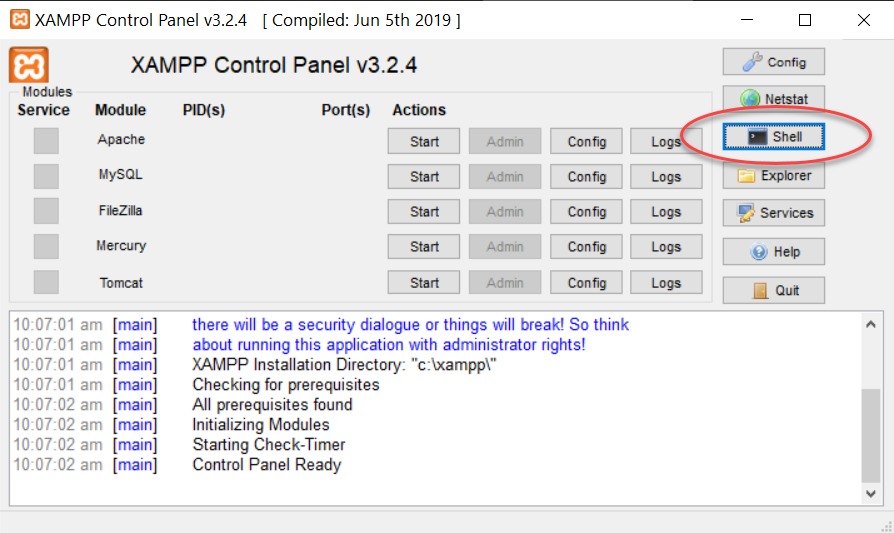
Refer to this document on how to generate these files using XAMPP – How To Generate SSL Key and Certificate
Step 3 : Request a Certificate Authority (CA) to sign your certificate.
If you require a CA signed SSL certificate, generate the Certificate Signing Request (CSR) using XAMPP and submit it to any CA. The CA will then issue you a signed certificate. We will need to upload this CA file in Step 4..
Step 4 : Configuring SSL on sendQuick
On sendQuick dashboard, navigate to Security Setup > SSL Setup
Ensure that “Enable SSL Service” is ticked.

Copy and paste the SSL Key generated in Step 2 into the section for SSL key. Similarly copy the SSL Certificate into the section for SSL Certificate.
If you have the CA file from Step 3, tick the checkbox for “Use CA file” and upload the file here.
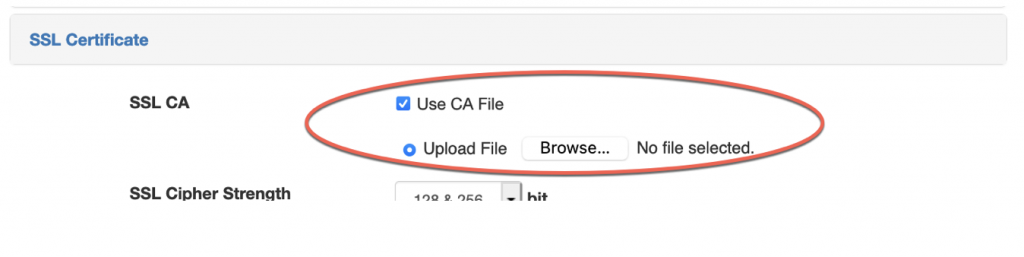
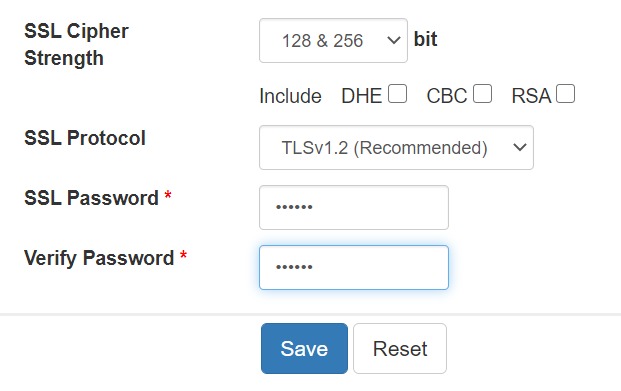
SSL Cipher Strength refers to the set algorithms that helps to establish the connection between the client and the web server. We recommend that you select “128 & 256.” You can also ignore the DHE, CBC, RSA options unless you are using those encryptions specifically.
Our built-in SSL Protocol is TLS v1.3. For this selection you can just select “TLSv1.2” and enter the SSL password that was configured in Step 2. Click on “Save” and you are done! Make sure you test to see if it works by using “https:” in front of the URL in your browser.